The noise you remember from garden renovation is usually the fun part: paving slabs clinking, a spade biting, the first plant going in. The bit that decides whether any of it lasts is site clearance, done properly, before you lay a single edge or order a skip. It’s relevant because it’s the stage that stops your “new” garden settling, flooding, smelling, or quietly turning back into what it was.
I learned this the hard way on a job that looked simple from the gate: tired lawn, a few brambles, an old patio like loose teeth. Two months later, the new beds were heaving, the paving rocked underfoot, and a flush of weeds came through like they’d been waiting for the ribbon cutting.
It wasn’t the design that failed. It was what we didn’t remove.
The bit everyone rushes: clearing what you can’t see
Site clearance sounds like tidying. In practice, it’s archaeology with consequences. You’re not just taking off the obvious-you're dealing with roots, rubble, contaminated soil, and the “mystery layers” that past owners leave behind.
Most gardens have a hidden biography: builders’ waste buried to save a trip, old membrane shredded into confetti, compacted subsoil that sheds water like plastic. If you build on top of that, you inherit it. And it will show up at the worst moment-usually after you’ve laid something expensive.
The underestimated part isn’t the labour. It’s the judgement: what stays, what goes, and how deep you need to be honest.
What’s actually happening under your feet
A renovated garden is a stack of layers, and each layer behaves differently when it’s wet, dry, frozen, or walked on. Turf and topsoil are springy; subsoil can be dense and airless; hardcore drains if it’s the right size and compacted properly. Mix them carelessly and you get a sponge sitting on a brick.
This is where “just skim it off” goes wrong. If you leave organic matter-old roots, buried hedge trimmings, a half-rotted stump-those pockets collapse as they decompose. Above them, slabs dip, sleepers twist, and soil sinks in soft bowls that never quite level.
Then there’s compaction. Years of footfall, mowing, and parked wheelbarrows compress the ground so water can’t move down. You add new topsoil and wonder why it turns boggy: the water hits that compacted layer and stops, like rain on a patio.
The quiet checklist that saves the whole job
Think of site clearance as setting the rules of the garden. Once it’s clear, you can build with confidence; before that, you’re guessing.
Here’s the sequence that tends to work, even on small domestic jobs:
- Strip and separate materials. Turf, topsoil, subsoil, rubble-keep them apart where you can. Mixing them is how you lose drainage and end up paying for soil twice.
- Remove the offenders, not just the greenery. Bramble crowns, bindweed roots, ivy runners, bamboo rhizomes. If you leave the engine, you keep the problem.
- Go looking for buried waste. Broken slabs, bricks, mortar, old plastic edging, carpet underlay. Dig test spots if you suspect it; don’t wait to discover it when you’re trenching for an edge.
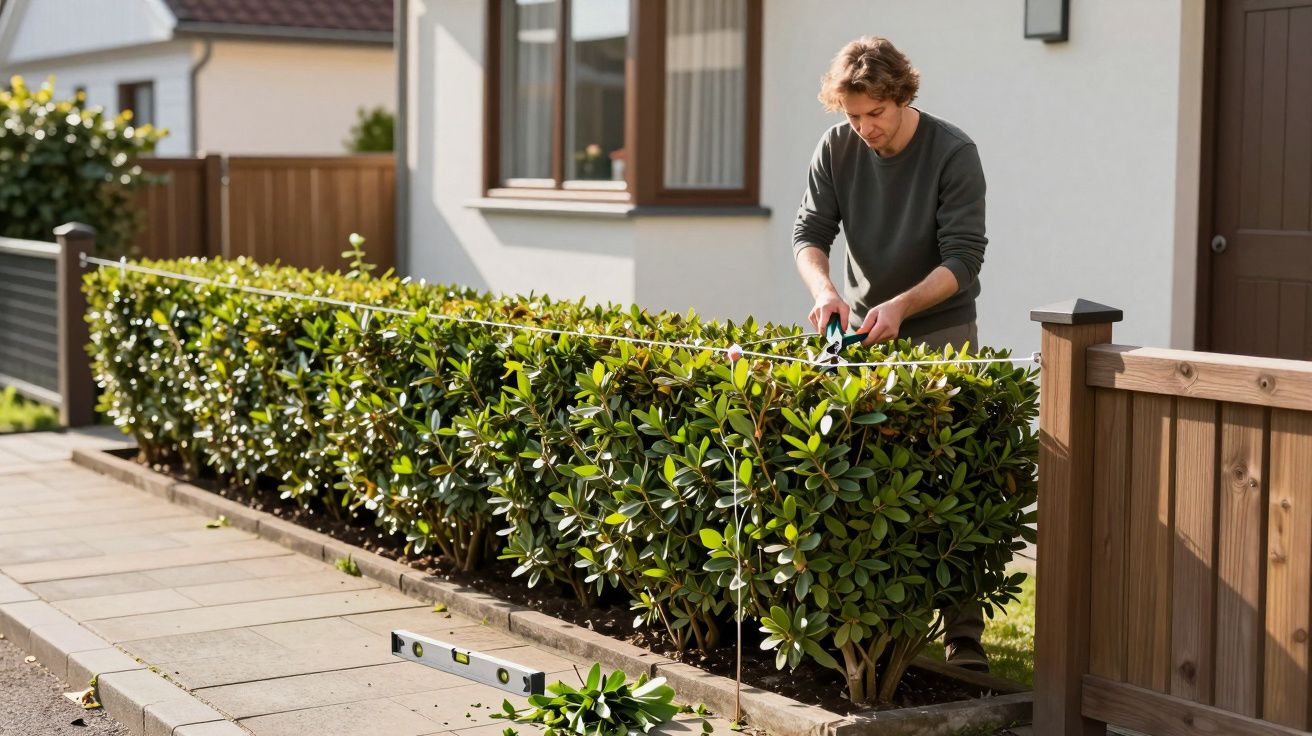
- Decide your finished levels early. Doors, air bricks, drains, neighbour boundaries. Clearance without levels is how you accidentally bury a damp course or create a puddle line against the house.
- De-compact, then shape. Fork or break up compacted ground where you’ll have lawn or beds, then rake to falls where water needs to move away.
A common mistake is doing steps 4 and 5 after you’ve brought in new materials. That’s like painting over damp: it looks tidy for a week, then it starts telling the truth.
“But it’s just a small garden”-the scale doesn’t matter
Small gardens fail faster because everything is concentrated. A single compacted strip becomes the whole lawn’s drainage problem. One buried concrete lump becomes the reason a bed never thrives. A narrow side return holds smells and damp because it doesn’t get enough sun to forgive shortcuts.
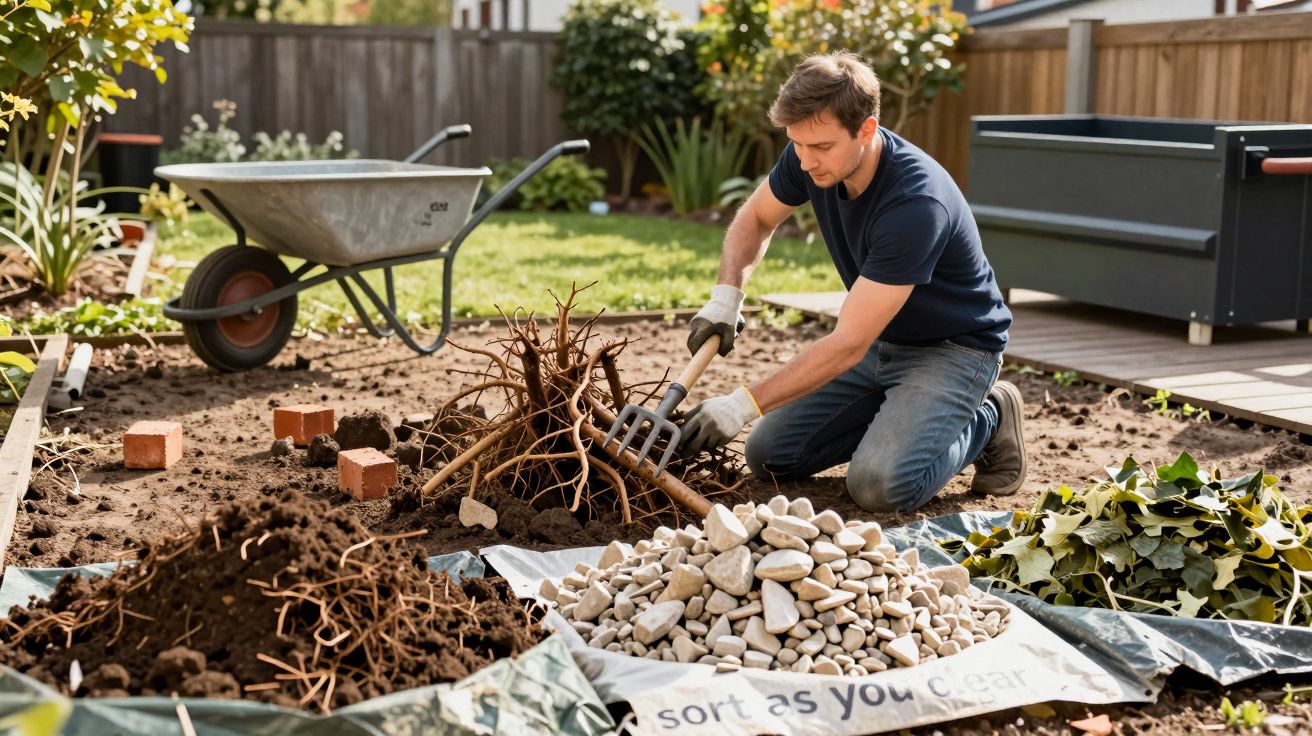
If you’re hiring a skip, measure honestly and order once. Clearance creates bulk in a way that surprises people-turf is heavy, soil is heavier, and mixed waste costs more to dispose of. The cheapest option is almost always sorting as you go: clean soil separate, hardcore separate, green waste separate.
And if you’re not sure what’s in the ground, clear in sections. It keeps the mess manageable and stops that demoralising moment where the whole garden becomes a single brown problem.
Tools and habits that make it easier (and safer)
You don’t need fancy kit, but you do need a few unglamorous things that stop clearance turning into injury or chaos:
- A sharp spade and a digging fork (different jobs; your back will notice the difference)
- A mattock for roots and compacted patches
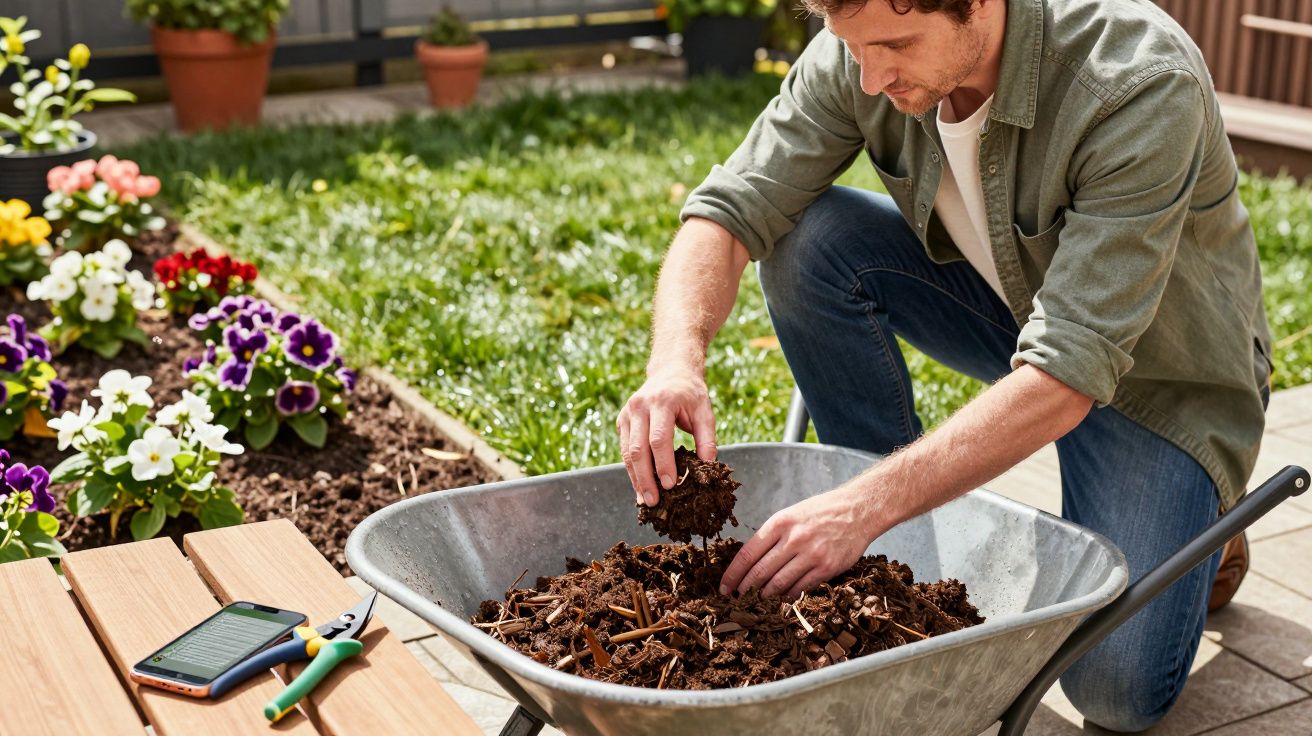
- A riddle or mesh screen if you’re reclaiming topsoil from rubble
- Tarps and builder’s bags to keep piles separate and controllable
- Gloves and eye protection (old concrete and thorny roots are not polite)
Work with a rhythm: clear, sort, stack. Don’t “just move it over there” five times. Every extra handling is where time disappears.
When site clearance needs a professional
There are moments where the smartest clearance is knowing when not to dig further:
- You suspect Japanese knotweed or another controlled invasive plant.
- You uncover asbestos cement fragments (often old garage roofing or pipework).
- The ground is full of glass, sharps, or unknown contaminants.
- You need to change levels near the house and risk damp or drainage issues.
Good garden renovation isn’t macho. It’s measured. A short consultation can save a rebuild.
The “looks worse before it looks better” stage that pays you back
Clearance is the phase where the garden feels like it’s getting uglier. It’s bare, lumpy, and honest. That’s also the only moment you can fix the underlying problems cheaply, before anything is laid, planted, or edged in.
When you do it well, the rest of the renovation suddenly feels easy. Levels make sense. Materials behave. Plants establish faster because you’ve given roots a sane place to live.
It’s not glamorous, but it’s the part that makes the garden stay renovated.
| What people do | What to do instead | Why it matters |
|---|---|---|
| Skim off weeds and start building | Remove roots, rubble, and organic pockets | Stops sinking, regrowth, and wobbly finishes |
| Mix soil with hardcore “to save time” | Separate layers; build them back intentionally | Protects drainage and long-term stability |
| Decide levels after clearing | Set finished levels before you dig too far | Prevents damp issues and puddling |
FAQ:
- How deep should site clearance go for a typical garden renovation? Deep enough to remove the root crowns and any buried waste, and to reach a stable base for what you’re building. For paving, that often means digging down to allow for sub-base and laying course; for beds, it may be more about de-compacting and removing debris than going deep everywhere.
- Can I reuse the existing topsoil? Often, yes-if it isn’t full of rubble, perennial weed roots, or contamination. Riddling and separating it during clearance is the difference between “free soil” and “soil that grows problems”.
- Do I need a skip, or can I do tip runs? For anything beyond a light tidy-up, a skip usually saves time and multiple car loads. The key is sorting waste so you don’t pay mixed-waste prices for clean soil or hardcore.
- What’s the biggest warning sign that clearance wasn’t done properly? New surfaces that settle unevenly within weeks, persistent standing water, and weeds returning aggressively from the same spots-those are usually clearance issues, not “bad luck”.


Comments (0)
No comments yet. Be the first to comment!
Leave a Comment