Most people treat hedge trimming like a quick tidy-up on a sunny weekend. In professional gardening, it’s approached more like maintenance with a plan: cut at the right time, shape for light and airflow, and avoid stressing the plant so it thickens rather than sulks. That difference matters because a hedge isn’t just a green fence - it’s a living structure that can be ruined for a season (or longer) by one enthusiastic hack.
You can often spot the “homeowner cut” from the pavement: flat faces, thin tops, bare wood showing through, and a hedge that slowly turns into a twiggy outline with leaves only at the surface. A professional aims for a hedge that stays dense from top to bottom and still looks smart in winter, not just for the photo on trimming day.
The first thing professionals do: decide what the hedge is for
Homeowners tend to start with the tool: plug in the trimmer, then walk the line. Pros start with the outcome. Is it a privacy screen, a boundary, a windbreak, a backdrop for planting, or a formal feature?
That purpose dictates the height, width, and even the finish. A tall screen can be slightly softer and more forgiving; a formal box shape needs repeatable lines and more frequent, lighter cuts.
A hedge that’s trimmed to “look neat today” often stops working as a hedge next year.
The shape is the secret (and it’s rarely perfectly vertical)
The biggest professional tell is taper. Most hedges should be wider at the bottom than the top, so light reaches the lower growth and it doesn’t thin out into that see-through, leggy base.
If you only take one idea from a professional approach, take this:
- Keep the base fractionally broader than the top
- Avoid creating a “green wall” that shades itself
- Aim for steady density, not razor-flat surfaces
A good rule of thumb is subtle: you don’t need an A-frame. You just need enough slope that rain sheds and light reaches the bottom third.
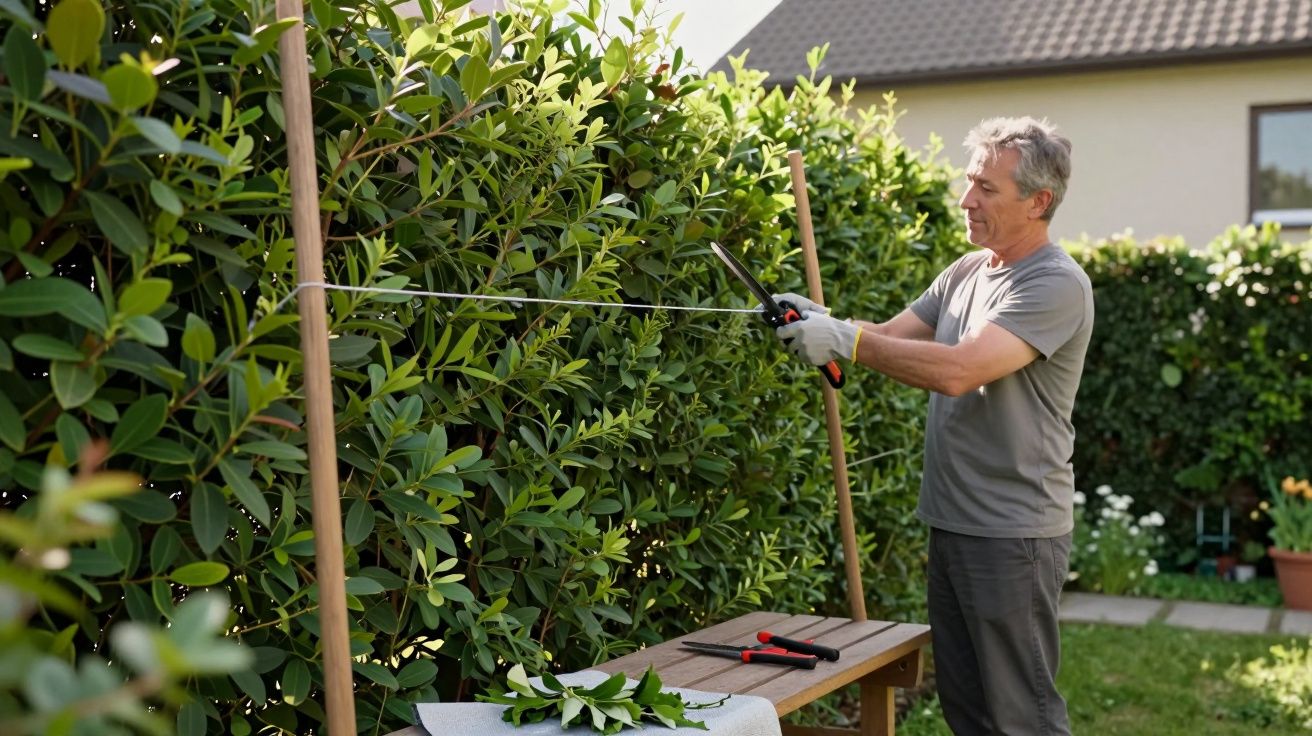
The quick “string line” trick professionals use
Pros don’t guess straight lines by eye alone, especially on long runs. They set guides.
- Push canes in at each end
- Run a taut string for the top line
- If you’re doing faces, run a second string for the plane
- Step back frequently and check the overall silhouette
It looks fussy, but it prevents the classic dip-and-bulge pattern you get when you trim too close in one patch and try to “blend” it out.
Timing is planned around growth, not your diary
Homeowners trim when they have time. Professionals trim when the hedge can respond well - and that varies by species, weather, and whether you’re chasing formal crispness or simply control.
A few practical truths most pros work by:
- Don’t cut hard in drought or during a heatwave; it stresses the plant and browns the tips
- Avoid trimming when frost is expected soon after; tender new growth can get nipped
- For many common hedges, lighter, more regular trims beat one heavy annual scalp
If you’re not sure what hedge you have, don’t default to “same time every year”. Identify it first. Laurel, beech, yew, box, privet, leylandii - they all behave differently once you start cutting.
Professionals remove less than you think, more often than you expect
Homeowners often “reset” the hedge: take off a big chunk so it stays quiet for months. Pros tend to take smaller amounts but keep the hedge in shape, which preserves leaf cover and reduces shock.
There’s also a safety net in that approach. If you take off 2–5 cm today and it looks a touch uneven, you can refine next time. If you take off 30 cm and expose bare wood, you’re stuck looking at it.
Why “cutting back to old wood” is a gamble
Some hedges will break back from older wood (yew is famously forgiving). Others won’t, at least not reliably (many conifers are the heartbreakers here). That’s why professionals are cautious about how far they push a reduction unless they know the species and its recovery habit.
If you’re tempted to dramatically reduce height or width, check first:
- Does this plant regrow from old wood?
- Will you be happy with a sparse look for a year or two?
- Is there enough light and feeding to support regrowth?
Tools matter, but not in the way people think
Homeowners often buy the biggest hedge trimmer they can justify, then fight fatigue and wobble. Professionals prioritise control and sharpness, because a clean cut heals better and looks better.
A blunt blade tears leaves, leaving a brown fringe that can hang around for weeks, especially on broadleaf evergreens. Sharp, well-maintained blades leave less visible damage and reduce stress.
A simple pro-style kit tends to be:
- Sharp hedge trimmer for the main faces
- Hand shears for finishing and for delicate hedges
- Secateurs for thicker stems the trimmer shouldn’t chew
- A tarp or sheet for fast cleanup (and to see what you’ve removed)
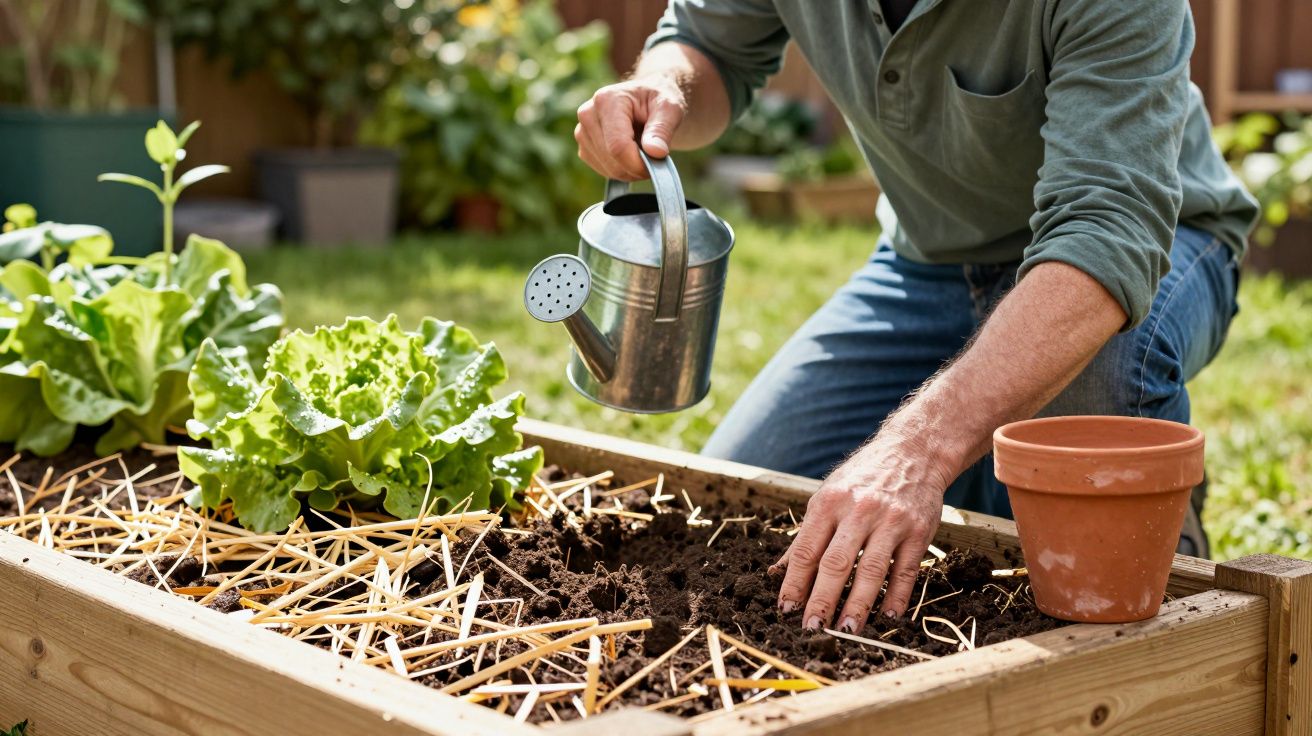
They check the hedge’s health as they go, not after it looks bad
Trimming is an inspection opportunity. Professionals look inside the hedge, not just at the surface, because problems show up there first.
Watch for:
- Dead patches inside (often shade, drought, or old congestion)
- Rubbing branches crossing and scarring
- Pests or disease signs you only notice when you’re close
- Soil compaction and dryness at the base
If a hedge is struggling, cutting it “neat” won’t fix it. Sometimes the professional move is to feed, mulch, water, and trim lightly until vigour returns.
The finish is about consistency, not perfection
Homeowners chase a flawless plane and keep “just touching it up” until they’ve removed far more than intended. Pros work in passes, step back often, and stop at the right moment.
A tidy finish usually comes from:
- One shaping pass to set the line
- A second light pass to remove proud shoots
- Hand snips only where the trimmer can’t be precise
And then they clear clippings promptly. Leaving piles at the base can smother lower growth, encourage rot, and make the hedge more bare where you need it full.
A realistic professional-style routine you can copy
You don’t need a van full of kit to borrow the approach. You need a plan you can repeat.
- Early season (when growth starts): light shape to set taper and height
- Mid-season: quick trim to keep faces tight and stop legginess
- Late season (before growth slows): gentle refine, avoid heavy cuts
This rhythm keeps the hedge dense, reduces the urge for drastic reductions, and makes each session shorter - the quiet advantage professionals build into the job.
FAQ:
- Is it okay to trim a hedge into a perfectly vertical wall? You can, but it often leads to a thin, bare bottom over time because the top shades the lower growth. A slight taper is usually healthier and looks fuller year-round.
- Why does my hedge go brown after trimming? Common causes are blunt blades (torn leaves), trimming during heat or drought, or taking off too much at once. A lighter cut with sharper blades usually reduces browning.
- Should I trim right down to old wood to fix an overgrown hedge? Only if you know the species can regenerate from old wood. Some hedges recover well; others won’t, and you may be left with permanent bare patches.


Comments (0)
No comments yet. Be the first to comment!
Leave a Comment